Backing up your Windows PC.

How to back up your PC?
Backing up your Windows PC is essential to protect your data from loss due to hardware problems, errors, or malware. Whether you're using Windows 10 or Windows 11, it's always a good idea to regularly back up your files and settings. This can be easily done with Windows' built-in backup options, or with external backup software that offers you extra flexibility. With a properly configured backup, you can quickly restore your system should anything go wrong.
Buy a Windows PC?

Step 1: Sign in with a Microsoft account
The first step in creating a backup in Windows 10 or Windows 11 is to sign in with your Microsoft account. This gives you access to OneDrive, allowing you to automatically save files to the cloud. This allows you to access your files from anywhere, even if your PC is damaged or lost. Go to your PC's settings, click on "Accounts" and log in with your Microsoft account to enable this feature. This is a convenient way to back up your most important documents without having to manually move files.
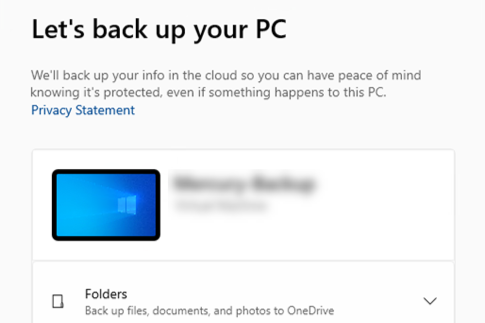
Step 2: Creating a backup
After signing in to your Microsoft account, you can start backing up your Windows PC. In Windows 10 and Windows 11, you can do this via the built-in backup function. Go to "Settings", then "Update & Security" and click on "Backup". Here you can choose whether you want to back up your files to an external drive or to the cloud via OneDrive. For a more comprehensive backup option, you can use special backup software that sets up automatic backups of all your files and settings. Remember to back up regularly so you always have the most recent versions of your files.


Desktops
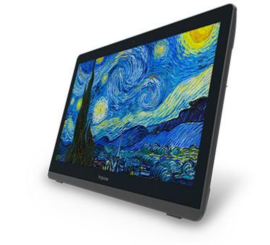
ProWise PW.1.34002.0001 All-in-one
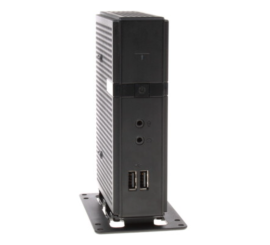
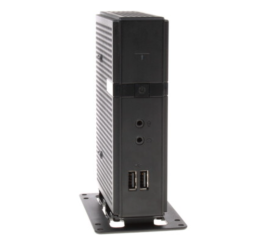
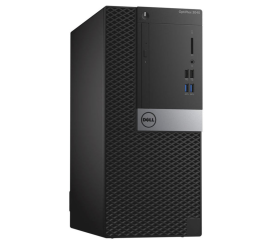
Dell OptiPlex 3040 Micro Tower

HP RP7 Retail System Model 7800 All-in-one