
How do you take a screenshot on your laptop?
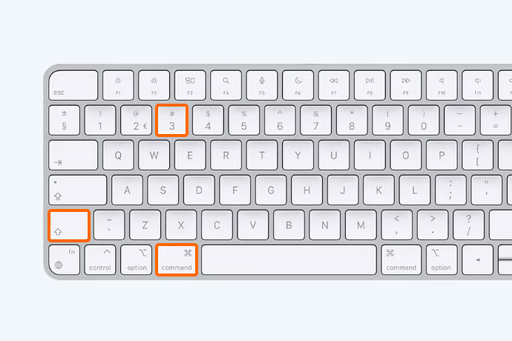
How to take a screenshot on a Macbook?
Taking a screenshot on a Macbook is a piece of cake. Simply press 'Shift + Command + 3' to take a screenshot of your entire screen. If you prefer to capture a specific part of your screen, use 'Shift + Command + 4'. This combination changes your cursor into a crosshair, allowing you to select an area to take a screenshot. These simple steps show you how to take a screenshot on a Macbook without any fuss.
View our MacBooks
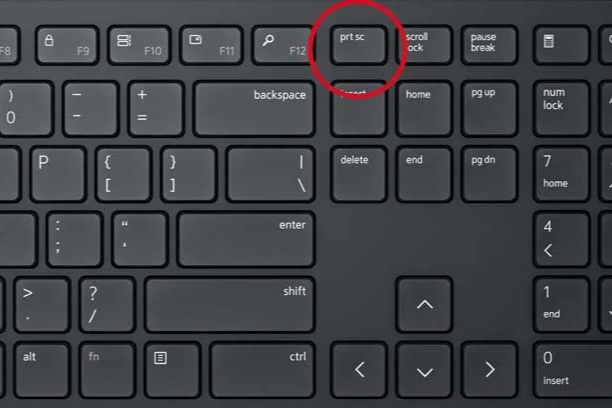
How to take a screenshot in Windows?
Taking a screenshot in Windows is very simple. Just press the 'Print Screen' (PrtScn) key on your keyboard. This will immediately take a screenshot of your entire screen. Do you want to take a screenshot of a specific active window? Then use the combination 'Alt + Print Screen'. For more control over your screenshots, you can use the built-in Windows Snipping Tool. This program allows you to take a screenshot of a selected part of your screen.
View our Windows laptops
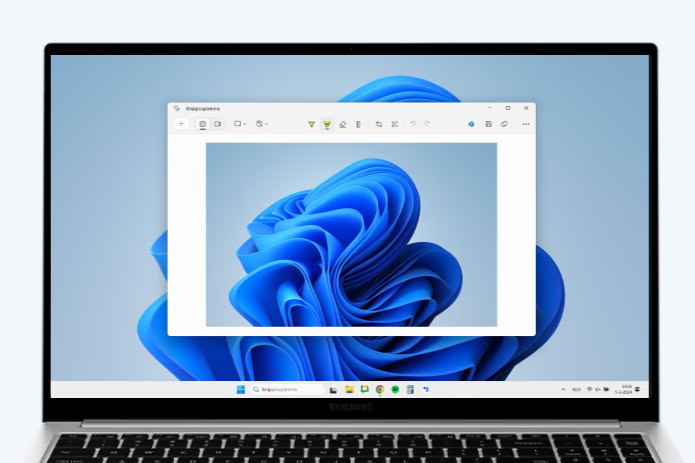
Taking a screenshot with the Windows Snipping Tool
The Windows Snipping Tool is a powerful tool for anyone who wants to take detailed screenshots. To take a screenshot, open the Snipping Tool and click 'New'. Select the area you want to capture and save the screenshot. This is especially useful for creating screenshots for presentations or reports. The Windows Snipping Tool makes it easy to take and edit screenshots, so you always have the perfect image for your purposes.


Browse our extensive laptop collection

Lenovo ThinkPad T14 G2
HP ZBook Fury 17 G7

Acer TravelMate P214-54
Acer TravelMate P214-54
Acer TravelMate P214-54